See the room’s status
A clear available, in-use, or closed screen. Current meetings show their title, company, and start and end times.
Give every conference room a live schedule. See whether it’s free, what’s happening now, and what comes next—without interrupting a meeting.
Door displays are included in every plan. Hardware is purchased separately.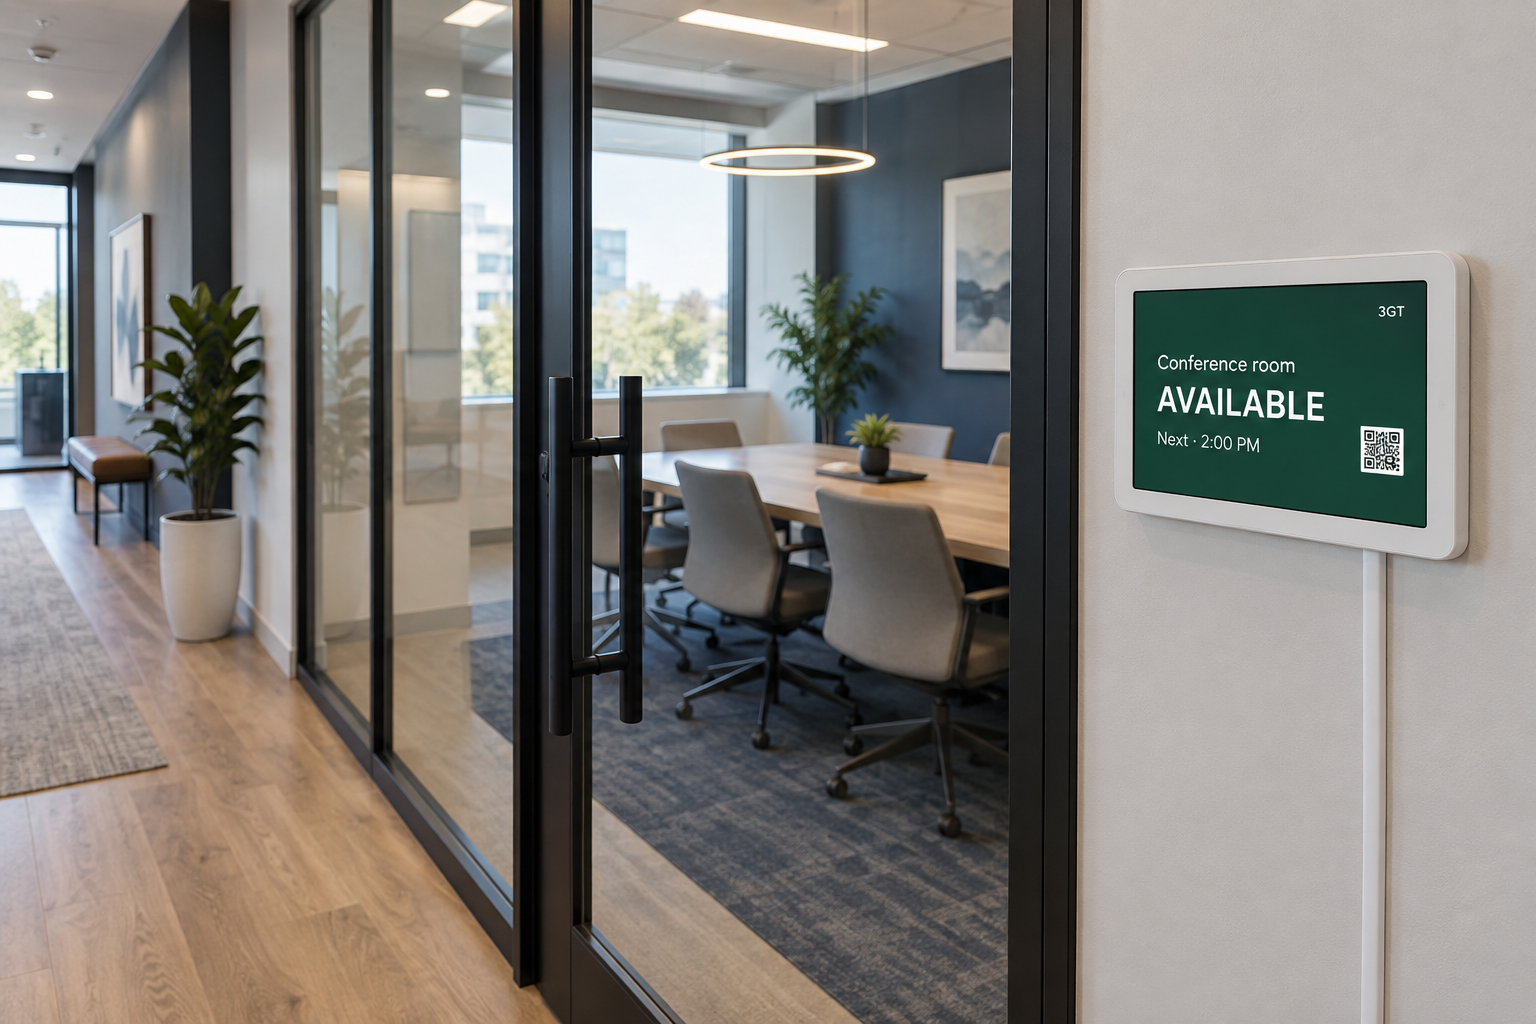
A clear available, in-use, or closed screen. Current meetings show their title, company, and start and end times.
See the next meeting, today’s remaining reservations, or the week’s schedule. The clock follows your building’s Central Time schedule.
Tenants scan the QR code with their own phone. Anyone can check availability; only people with property access can book.
The screen can only show its room’s schedule. Private meetings show “Reserved.” Managers can revoke a display link at any time.
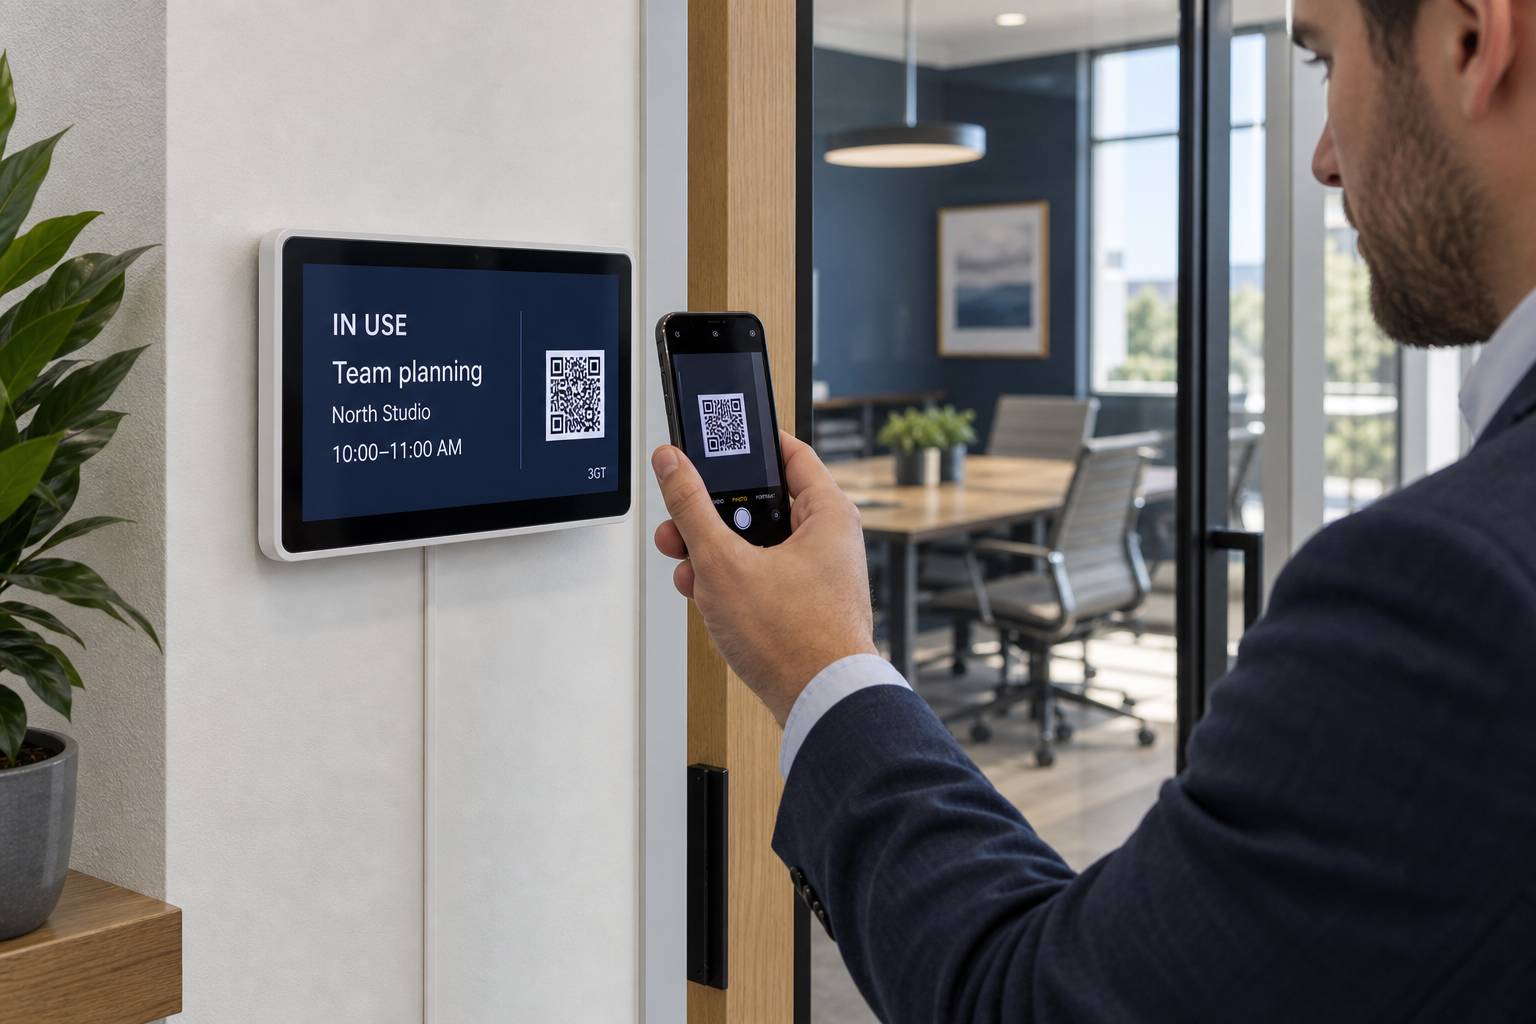
The tablet stays on the schedule. Tenants use their own account on their phone, where their booking rules and permissions still apply.
Bookings appear on the room screen automatically, usually within 30 seconds. If the connection drops, the screen clearly marks availability as unconfirmed.
See available, occupied, private, and offline statesWe recommend an 8–11-inch Android tablet with a current browser, Wi-Fi, and continuous power. A supported iPad you already own can also work. Try the display on your device before buying a mount.
An 11-inch screen is easiest to read at a glance. A 5–7-inch screen works best for close viewing; landscape orientation gives the agenda more room.
Manager hardware & installation guide Manager sign-in required for specific hardware recommendations.USD estimates for self-installation with a nearby outlet. Tax, shipping, labor, and new electrical work are extra. Reusing a suitable tablet reduces the cost. No extra display subscription.
Check Wi-Fi and power beside the door. Choose a mount that fits the tablet and leaves its vents and charging port clear.
In the manager portal, select a property and room. Open Door display, generate its link, and open that link on the tablet.
Tap Start display for full screen and to keep the screen awake where supported. Use the device’s app-pinning settings to reduce accidental navigation. This does not lock a browser to one website.
Scan the QR code, check a booking, and test Wi-Fi loss and a restart. Keep a short restart procedure nearby; some devices need the browser reopened after reboot.
Create your workspace, add properties and rooms, and choose only the booking rules you need. Enable 24/7 access if the room never closes. Room capacity is an optional label; reservations do not collect guest counts.
Import your tenant list, review the companies and office numbers, then send invitations. Importing alone sends no email. Share each building’s public calendar address so tenants can bookmark it.
A useful starting point is four advance hours per company each week, with extra time opening 24 hours before a meeting. Weekly and monthly allowances, duration, daily limits, and advance windows can each be disabled.
Review reserved hours by tenant over the last 7, 30, or 90 days, year to date, or the last 12 months. These reports measure reservations, not physical occupancy.